March 31, 2010

{recipe} Meatloaf and Creamed Spinach

Test Recipes Week 13!


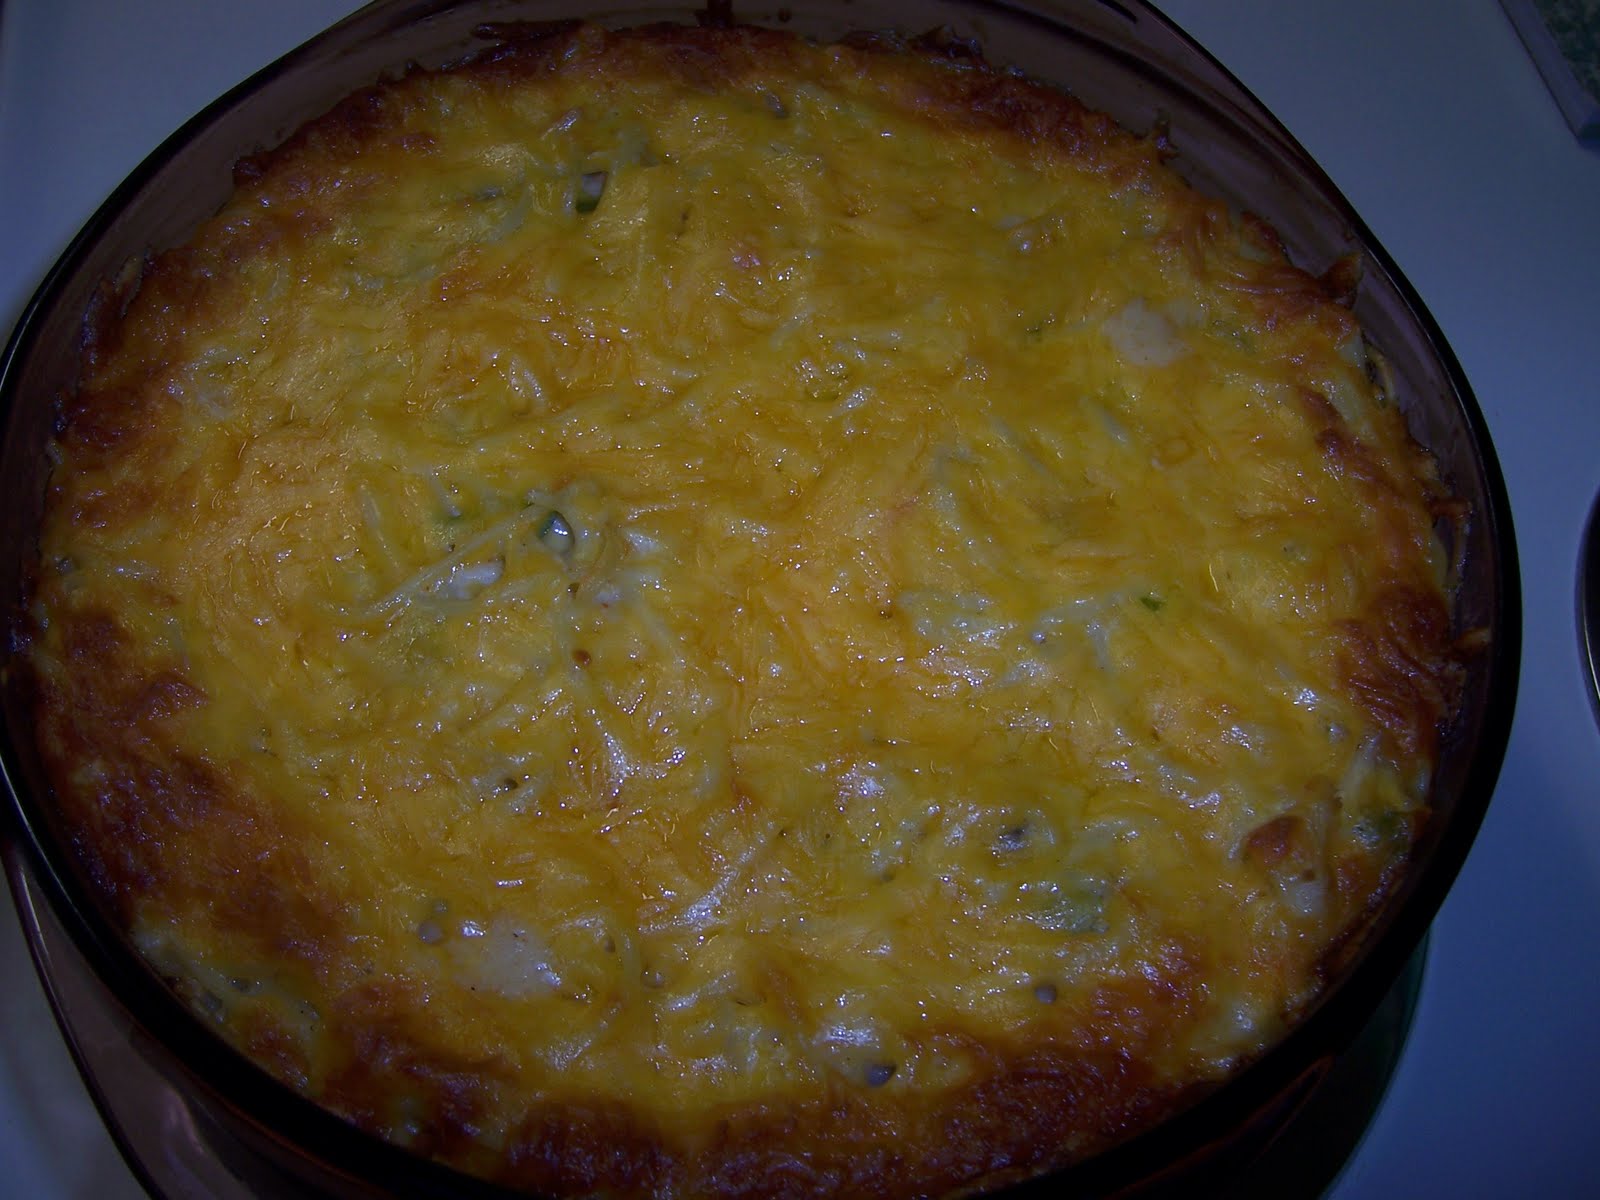
Comfort Food!!  I've always been a fan of meatloaf, even though beef isn't my first choice when it comes to meat (have you noticed the favored chicken recipes on here?).  I always have a preference for my Mom's recipe, but decided to give a new one a try.

MEAT LOAF (Simple&Delicious Jan/Feb '10)

1 egg, slightly beaten
1 can (5 1/2 oz) V8 juice
1/2 c. seasoned bread crumbs (I just made my own by toasting and smashing a few pieces of bread)
1 envelope onion soup mix
1/4 c. grated Parmesan cheese
1/4 tsp. garlic powder
1 1/2 lbs. ground beef
1/3 c. ketchup

In a large bowl, combine the egg, V8 juice, bread crumbs, soup mix, cheese, and garlic powder.  Crumble beef over mixture and mix well.  Pat into an ungreased 9"x5" loaf pan.  Bake, uncovered, at 350* for 30 minutes.  Spread ketchup over top; bake 5-10 minutes longer or until no pink remains and a meat thermometer reads 160*.  8 servings.

Overall, GOOD.  But not as good as Mom's!  Want to know a secret?  When I eat meat loaf, I always always always cover it in ketchup and then mash/stir it thoroughly until it becomes more of a Meat Mush.  I can't help it.  Meat Mush just seems more appetizing to me than putting a chunk of beef in my mouth.  I'm weird like that.....In other comfort food news: Creamed Spinach.  I've only had creamed spinach one other time in my life at a Sunday brunch buffet, but have never had a desire to make it until I came across this recipe.  I guess just seeing a picture of it was enough to make it.  That's another THING of mine - I only test recipes that include pictures of the finished product.  I like to see what I'm getting myself into.


*********************************************************
CREAMED SPINACH (SmittenKitchen)
**I made a half recipe (using the proportions listed below, although I didn't change the amount of garlic).  See SK website for original proportions - or just multiply by 2!)

1 pound baby spinach or 1 1/4 pounds fresh spinach, tough stems discarded
7/8 cups heavy cream or whole milk
1/2 small onion, finely chopped
1 small clove garlic, minced (optional)
1 1/2 Tbsp. unsalted butter
1 1/2 Tbsp. all-purpose flour
salt and pepper, to taste
pinch of nutmeg

Wash your spinach well. Place wet spinach in a large pot over high heat. Cook, covered, stirring occasionally, until wilted, about 2 to 4 minutes.  Press or squeeze out the excess liquid.  Coarsely chop the wrung-out spinach.  Heat milk or cream in a small saucepan over medium heat, stirring, until warm. Keep warm. Meanwhile, cook onion and garlic (if using) in butter in large pot over moderately low heat, stirring occasionally, until softened. Whisk in flour and cook roux, whisking until thickened. Add warm milk or cream in a slow stream, whisking constantly to prevent lumps, and simmer, whisking, until thickened. Stir in nutmeg, spinach, and salt and pepper to taste and cook, stirring, until heated through.

I rated this recipe EXCELLENT, although I had to add more salt/pepper/nutmeg than I originally thought.  And it was much easier to make than I imagined it would be :)

March 29, 2010

homemade gifts: Coasters


I've seen many renditions of homemade coasters on the interwebz.  Some using paint, napkins, rubber stamps, monograms, etc.  I used scrapbook paper because it comes in soooo many different colors and patterns and can be easily personalized for the gift-receiver.  I made these for Christmas presents for co-workers, and am in the process of making a set for each of my sisters.

Supplies:
* 3 3/4" square tiles (set of 4) from Lowe's (I looked at Menard's and Home Depot also, but liked tiles from Lowe's the absolute best.  They are called Sierra Beige something-or-other, and I like them because they have flat tops and straight sides - easy for Mod Podge-ing)
     ***Look over your tiles in the store and make sure no corners are chipped***
* Mod Podge
* foam brushes
* clear acrylic matte coating (aerosol)
* scrapbook paper cut slightly smaller than tiles (I cut mine 3 5/8" square)

just a SAMPLE of the beautiful scrapbook papers out there

1. Wipe tiles with damp cloth to remove dust/tile dandruff.
2. Work with one tile at a time.  Place tiles on top of scrap paper or newspaper to protect work surface.  Brush a light, even coat of Mod Podge on one tile and immediately place one piece of scrapbook paper on top.  Press firmly from center outward.  Then do the same with the remaining tiles.
3. Brush another light, even coat of Mod Podge on top of the scrapbook paper.  Make sure the entire top is covered, and even extend the Mod Podge over the edges and onto the sides.  (This ensures the paper won't be able to come off the tile).  Repeat with remaining tiles.
4. Let dry 15-20 minutes; Then brush another light, even coat of Mod Podge over entire tile surface, extending over edges.
5. Dry completely (i.e. overnight).
6. In well-ventilated area, spray an even coat of acrylic sealer over tiles.  Let dry (~15 minutes), and spray another light coat.

Voila!  Warning: they're kind of addicting to make! 


***Alternative Idea:  The first time I made these, I made a single test tile, which I now use as a SPOON REST on my stove :)

March 27, 2010

{recipe} Stroganoff-Style Spaghetti 'n' Meatballs

Test Recipes Week 12!

And I'm all caught up!  With this post, I am officially caught up with the recipes I have tested out in 2010.  Woohooooo!!  Here's what I made:


STROGANOFF-STYLE SPAGHETTI 'N' MEATBALLS (Simple&Delicious Jan/Feb '10)
1/2 lb. uncooked spaghetti
3/4 lb. frozen cooked Italian meatballs, thawed
2 Tbsp. finely chopped onion
1 garlic clove, minced
1 Tbsp. olive oil
1 can (10 3/4 oz.) condensed cream of mushroom soup
1/4 c. milk
1 Tbsp. concentrated au jus sauce
1/8 tsp. Cajun seasoning
1 c. (8 oz.) sour cream

Cook spaghetti until al dente, then strain.  Meanwhile, in a large skillet, saute the meatballs, onion, and garlic in oil for 4-5 minutes or until meatballs are browned.  Stir in the soup, milk, au jus sauce, and seasoning.  Bring to a boil.  Reduce heat; simmer, uncovered, for 10-12 minutes or until heated through.  Gradually stir in sour cream.  Heat through (do not boil).  Stir spaghetti into skillet.  Serve immediately.  Makes 4 servings.


EXCELLENT!  Of course, I could not make this recipe exactly as written.  That would be unlike me.  I used half regular spaghetti, and half whole-wheat spaghetti.  I also didn't want to buy concentrated au jus sauce (didn't know if I would use it again), so I just splashed a little Worcestershire sauce into the mix.  And instead of Cajun seasoning, I used some seasoned salt and cayenne pepper.  It turned out nummy nummy, and I will be making this again.

South of the Border

Test Recipes Week 11!

I've had these Taquitos from Our Best Bites bookmarked for a while now, and decided to test them out this week.  Then I noticed the Brazilian Lemonade link on the same post, so this week's test recipe sort of has a theme.  (If you've never checked out Our Best Bites before, go do so.  I have so many recipes bookmarked from their site that I'll be able to do a 2nd year of test recipes in 2011...)

CREAMY CHICKEN TAQUITOS (OurBestBites)

1/3 c. (3 oz) cream cheese, softened
1/4 c. green salsa (I used regular, because that's what I had on hand)
1Tbsp. fresh lime juice
1/2 tsp. cumin
1 tsp. chili powder
1/2 tsp. onion powder
1/4 tsp. granulated garlic
3 Tbsp. chopped cilantro
2 Tbsp. sliced green onions
2 c. shredded cooked chicken
1 c. grated Pepper Jack cheese
small corn or flour tortillas (about 12)
kosher salt

Combine cream cheese, salsa, lime juice, cumin, chili powder, onion powder and granulated garlic. Stir to combine and then add cilantro and green onions. Add chicken and cheese and combine well. 


Slightly warm your tortillas so they don't break while rolling.  Place a spoonful of chicken mixture on the lower third of a tortilla, keeping it about 1/2 inch from the edges. Then roll it up as tight as you can.  Place seam side down on the baking sheet lined with aluminum foil. Lay all of the taquitos on the baking sheet and make sure they are not touching each other. Spray the tops lightly with cooking spray or an oil mister and sprinkle some kosher salt on top. 


Bake at 425* for 15-20 minutes or until crisp and the ends start to get golden brown.  Dip in salsa, sour cream or guacamole, or use your favorite toppings.


These were super yummy and super easy to make!  They also tasted very good when reheated.  I dipped them in sour cream and that's it.  This one is rated EXCELLENT.  There was also a drink recipe linked to the taquitos recipe.  The ladies over at OBB were raving about this drink, so I decided to try it out at the same time as the taquitos.

**********************************************************

BRAZILIAN LEMONADE (OurBestBites)

4 limes (with thin, smooth skin)
1 c. sugar
6 c. cold water
6 Tbsp. sweetened condensed milk

Mix cold water and sugar until dissolved.  Chill until ready to use. This step can be done ahead of time.  Wash limes thoroughly with soap Cut the ends off the limes and then cut each lime into eighths.  Place 1/2 of the limes in your blender.  Add 1/2 of the sugar water, and pulse 5 times. Place a fine-mesh strainer over a pitcher and pour the blended mixture through the strainer and into the pitcher. Use a spoon to press the rest of the liquid into the pitcher. Repeat with remaining limes and sugar water. Add sweetened condensed milk.  Add more sugar or milk if it's too bitter.  Serve immediately over ice. Serves 4.
 
OBB said this does not keep well, so only make the amount you think you'll need (I made a half recipe).  This was another 'oops' recipe for me.  I don't own a wire-mesh strainer, so I attempted to strain (SLOWLY) through a paper towel.  A couple times some rind spilled over into the pitcher, but I just scooped it out with a spoon.  Overall, I rated this recipe GOOD.  It was a little too bitter for me, even after adding more sugar.  I would attempt it again (using an actual strainer), and try even more sugar.
 

{recipe} Lemon Poppy Seed Bread

Test Recipes Week 10!


We had another office party the week I made this bread.  We decided to have the party in the morning, with special coffee selections and breakfast items - Mexican pastries, granola, and a couple breads made by Yours Truly.  I made the traditional Mueller banana bread recipe, and also decided to try a lemon poppy seed.  I love lemon.  Lemon Meringue Pie. Lemonade. Lemon tea.  Lemon sherbet. Lemon Bars. *drool*

I've never made lemon poppy seed anything before, but have always been a fan.  After an extensive online recipe search, I narrowed it down to this recipe.

LEMON POPPY SEED BREAD (allrecipes.com)

BREAD:
3 cups all-purpose flour

1 1/2 teaspoons salt
1 1/2 teaspoons baking powder
1 1/2 tablespoons poppy seeds
2 1/2 cups white sugar
1 1/8 cups vegetable oil
3 eggs
1 1/2 cups milk
1 1/2 teaspoons vanilla extract
1 1/2 teaspoons lemon extract


GLAZE:
1/4 cup orange juice
3/4 cup white sugar
1/2 teaspoon lemon extract

In a large mixing bowl, stir together the flour, salt, baking powder, poppy seeds and 2 1/2 cups white sugar. Add the eggs, milk, oil, vanilla and lemon extract; mix until smooth, about 1 minute. Pour batter evenly into the three greased 8x4 inch loaf pans.  3.Bake at 350 degrees F for 50 to 55 minutes, or until a toothpick inserted into the center of the loaves comes out clean. Cool loaves in the pans for 10 minutes before removing to a wire rack.

Combine orange juice with remaining 3/4 cup sugar and extract; stir well. Pour this mixture over the loaf while it is still hot. Allow loaf to cool completely before serving.
 
Makes three (3) 8x4 inch loaves.  I only have two loaf pans, so I made the extra into muffins.  I had one 'oops' moment when making this recipe.  I only had 3/4 c. oil in my cupboard.  When I was making the grocery list for this recipe, I just assumed I had enough oil.  Oops.  It was probably 9pm by this point, and I didn't want to make a trip to the grocery store just for oil, so I took a chance.  I substitued olive oil for the remaining amount of oil.  The bread baked like normal, and I thought it tasted good.  But in the end, I swore I could taste just a hint of the olive oil in the bread.  The bread was gobbled up at the office, and no one mentioned any odd flavor, so it may have just been my imagination.  Regardless, I'm eager to test this recipe again with only vegetable or canola oil to see if it tastes any better.  I'm going to rate it GOOD until I have a chance to retest it.

{recipe} Chicken Spaghetti

Test Recipes Week 9!


Back home in Minnesota, a meal like this would be called a HOTDISH, never a casserole.  Most hotdishes follow the same basic principle:

* meat (chicken or ground beef, or even turkey on occasion)
* creamy soup or tomato sauce base
* pasta or potatoes (my all-time favorite is still Tator Tot Hotdish!)
* may or may not include veggies
* bake 350* until yummy

Mix and match any combination of the above, and BOOM - hotdish!  Here's the latest HOTDISH I came across:

CHICKEN SPAGHETTI (Pioneer Woman)
**disclaimer** These are the proportions posted by PW.  I made HALF a recipe, and it still filled a normal-sized casserole dish.

2 c. cooked chicken
3 c. dry spaghetti, broken into 2" pieces
2 cans cream of mushroom soup
2 c. grated sharp Cheddar cheese
1/4 c. chopped green pepper
1/4 c. finely diced onion
4 oz. diced pimentos, drained
2 c. chicken broth
1 tsp. seasoned salt
1/8 to 1/4 tsp. cayenne pepper
salt and pepper, to taste
1 c. additional grated sharp Cheddar cheese

Cook spaghetti according to package directions (until al dente).  Do not overcook. When spaghetti is cooked, combine with remaining ingredients except additional 1 cup sharp cheddar.  Place mixture in casserole pan and top with remaining sharp cheddar. Bake at 350 degrees for 45 minutes until bubbly. (If the cheese on top starts to get too cooked, cover with foil - mine got a little overcooked before I caught it).


YUM YUM YUM!  I did things a little differently than PW (natch...).  I used canned chicken instead of a chicken fryer.  I also added much more green pepper than called for (probably double).  Next time, I will use half the cheese.  As mentioned above, I made a half recipe (since I'm only cooking for myself) and it still filled a casserole dish.  Sadly, my refrigerator went out the day after I made this and all the leftovers of this HOTDISH were lost during the ordeal.  I will definitely be making again.  EXCELLENT!

{recipe} Rolo-riffics

Test Recipes Week 8!

I must confess...I've eaten these bars before.  But someone else made them, so technically this was a test recipe for me.  I got this recipe from my sister, who made them for Easter one year.  I'm not a huge chocolate fan, so I liked that these bars aren't all chocolate.  Plus, they have caramel so that makes them even better!  This recipe is rated EE - Easy and EXCELLENT!


ROLO-RIFFICS (Taste of Home, via Maribeth)

1 package (18-1/4 ounces) yellow cake mix

1 can (5 ounces) evaporated milk
1/2 cup chopped nuts
1/4 cup butter, melted
36 Rolo candies, halved

In a large bowl, combine the cake mix, milk, nuts, and butter. Spread half into a 13x9
baking pan coated with cooking spray. Bake at 350° for 13-15 minutes or until set.
Place candies, cut side down, over crust; top with remaining cake mixture.


Bake 25-30 minutes longer or until golden brown. Cool on a wire rack. Cut into bars.


** above photo by: Taste of Home**

March 22, 2010

....

I am starting to think the name of this blog should be geared towards recipes instead of crafts....

March 20, 2010

{recipe} Creamy Shrimp Penne

Test Recipes Week 7!  (From this point on, I have remembered to take pictures of each test recipe.  Woot!)

Pasta.  Probably my all-time favorite food.  Shrimp.  One of my favorite forms of seafood.  This pasta has BOTH.  Plus a creamy tomato sauce.  YUM.  It's from Pioneer Woman.  I changed the name because Penne a la Betsy has no meaning to anyone other than PW.  I can do that.  It's my blog.


CREAMY SHRIMP PENNE (Pioneer Woman)

¾ pounds penne pasta
1 pound cooked, peeled, and deveined shrimp
2 Tbsp. butter
2 Tbsp. olive oil
1 small onion, minced
2 cloves garlic, minced
½ c. white wine or chicken broth
1 can (8 oz) tomato sauce
1 cup heavy cream
1 Tbsp. each fresh basil and parsley, chopped
Salt and Pepper to taste

Cook the pasta until al dente.  Pull tails off thawed shrimp, rinse, and cut into bite-sized pieces.  Set aside.  In a large skillet heat butter and olive oil. Add the garlic and onion and sauté, stirring occasionally. Once garlic and onions are tender, add white wine or broth. Let the wine evaporate for a few minutes, stirring occasionally.  Add tomato sauce and stir until well combined. Add heavy cream and continue stirring. Turn heat down to low and let simmer.  Stir shrimp and pasta into tomato cream sauce.  Add parsley, basil, and salt and pepper to taste.

I thought this recipe was SUPER yummy!  I rated it EXCELLENT and will definitely be making it again.  It made a huge amount though, which was just too much for one person, and it didn't reheat very well (microwaved shrimp - meh).  So next time I'll probably just make a half recipe.  I'm not the biggest fan of Penne either, it's a lot of pasta.  I'd be tempted to substitute linguine or egg noodles next time.  And this would probably be just as good with chicken instead of shrimp.  Try it!

{recipe} Mexican Chicken

Test Recipes Week 6!  (I actually tested two recipes this week, but already posted about one of them.  Read about the Raspberry Crumb Bars HERE.)

My sisters and I have a blog together to keep in touch, as we're spread out all across the country.  We post lots of updates about our lives, but also include things like recipes we've tried out.  At the end of 2009, my oldest sister compiled most of the recipes into a booklet, along with lots of our old family favorites.  It's a really neat thing to have.  She even scanned in some recipes that were handwritten by our mother.  I'm excited to print it off and put it into a binder, where I can add my own favorite recipes over time.  This week's test recipe came from that book.  It's super easy and practically effortless to make.  Gotta love crockpot recipes!  I love coming home from work to an apartment full of the aromas of a ready-to-eat-supper.  Comfort food to the max.

MEXICAN CHICKEN (Pam Kautz)

frozen chicken breasts
salsa
sour cream
tortillas
additional toppings of your choice (i.e. lettuce, shredded cheddar cheese, chopped tomatoes)

Place frozen chicken breasts in crockpot, add salsa, and cook on low 5-6 hours or on high 3-4 hours.  Turn off heat and drain excess juice from crockpot.  (I didn't do this when I made them, and they were VERY drippy and messy to eat.)  Stir to shred chicken.  Add 1/2 c. sour cream and stir.  Serve in tortilla shells with favorite toppings.

I am fortunate enough to be able to go home for lunch, so I threw this all in the crockpot over lunch, and cooked on low while I went back to work.  I love having supper ready for me when I get home from a long day at work.  Super yum and super easy.  I rated this recipe GOOD due to the drippy-ness, but I think it could be moved to EXCELLENT if I tried it again.

{recipe} Pantry Pasta

Test Recipes Week 5! (I'm catching up here...hopefully in the next few days I'll be all caught up on posting my test recipes to date.)

I found this recipe on the Sing For Your Supper blog.  It's a great resource for recipes and blogging inspiration too!  Check it out if you've never been there.  This recipe challenged me because she didn't have a lot of measurements in her post, but it turned out pretty good!  I'll do my best to guestimate the ingredient portions that I used.  I rated this EXCELLENT and will be keeping it in the rotation.  Unfortunately, I didn't have any mushrooms on hand (I'm a huuuuge fan of mushrooms), so I'm excited to make this recipe again in the future, because it can only get better with mushrooms.

PANTRY PASTA (SingForYourSupper)

2 boneless, skinless chicken breasts
2 Tbsp. butter
1 Tbsp. flour
1/2 c. frozen peas
1 small can of mushrooms
1 can chicken broth
1/2 c. heavy cream
salt and pepper to taste
spaghetti noodles

Cook pasta according to package directions.  Meanwhile, heat olive oil in nonstick frying pan, and saute chicken breast until juices run clear.  I like to drain the oil and juices off right at the end and then cook the breast a little longer until they're slightly browned/crispy on the outside.  Just a side note.  In the same pan, melt butter, then whisk flour in slowly to make a roux.  Slowly whisk in chicken broth and cream.  Season with salt and pepper.  Add mushrooms and peas.  Toss sauce, chicken, and pasta together and enjoy!  It would also be nummy sprinkled with Parmesan cheese.

{recipe} Caesar Pockets

Test Recipes Week 4 (continued)!

Caesar Pockets. Or in my case, Caesar Wraps.  I thought this recipe was soooo yummy! And very, very quick and easy to make! Perfect for a weeknight meal, or a quick lunch on the go. I made a couple changes to this recipe. First, I couldn't find roasted red pepper strips at the grocery store, so I substituted pimentos. It was still good. Second, Pita bread was hard to find too, so I substituted Roasted Tomato tortillas. (It was a weeknight and I didn't feel like driving across town to the bigger grocery store.) It was still YUM! I'm a huge fan of wraps, and the tanginess of this one was a nice change to regular turkey-lettuce-cheese wraps. I rated it EXCELLENT.

CAESAR POCKETS (Kraft Food and Family)

4 c. torn romaine lettuce
6 oz. shaved smoked turkey breast, cut into strips
¼ c. drained roasted red pepper strips
3 Tbsp. grated parmesan cheese
¼ c. Caesar dressing (can also use ranch)
4 pita breads, wamed, cut in half

Toss lettuce with turkey, peppers, cheese, and dressing. Spoon into pitas.
4 servings

{recipe} Cauliflower Cheese Soup

Test Recipes Week 4!

I was excited to test out this next recipe, because I got to try my new blender!  It's just a cheap-o one from Target, but it worked great!  It's kind of sad how excited I got over a new blender.  Oh well!  I also actually remembered to take pictures of this recipe for my blog! 


CAULIFLOWER CHEESE SOUP (delish.com)

2 Tbsp. butter or margarine
1 medium onion, chopped
1/4 c. all-purpose flour
1/2 tsp. salt
2 c. milk
1 can (13 3/4 to 14 1/2 oz) chicken broth
1 head (2 1/2 lbs) cauliflower, cut into 1" chunks
1 tsp. Dijon mustard
1 pkg. (8 oz) shredded sharp Cheddar cheese

In 4-quart saucepan, melt margarine or butter over medium heat.  Add onion and cook until golden, about 10 minutes, stirring occasionally.  Stir in flour and salt; cook 2 minutes, stirring frequently.  Gradually stir in milk, chicken broth, and 1 1/2 c. water; add cauliflower and heat to boiling over high heat.  Reduce heat to low; cover and simmer until cauliflower is tender, about 10 minutes.  In blender (with center part of blender cover removed to allow steam to escape), blend cauliflower mixture at low speed in small batches until very smooth.  Return cauliflower mixture to saucepan; heat over medium heat until hot, storring occasionally.  Remove saucepan from heat; stir in mustard and 1 1/2 c. cheese until melted and smooth.  Don't let boil or cheese may get stringy.  Garnish soup with remaining cheese to serve.

It seems lately I just can't make a recipe exactly the way it is written.  I'm always making little tweaks and changes to adapt things to my own taste.  Here are the changes I made to this recipe:

1) I added chopped carrots for a little color, but I think I should have waited to add them until the cauliflower mixture had already gone through the blender so that they could be seen.

2) Instead of 2 cups milk I added 1 1/2 c. milk and 1/2 c. cream...just to make sure it was nice and yummy :)

3) I also added a little ground white pepper.

Not as good as broccoli cheese soup (my all-time favorite), but still pretty good!  I rated it GOOD, and will probably make it again some day.

March 7, 2010

{recipe} Creamy Chicken and Pasta Bake

Test Recipes week 3!

I got this recipe in the Kraft Food and Family magazine.  Once again, I didn't think to take pictures of the results :(  Next time.

CREAMY CHICKEN AND PASTA BAKE (Kraft Food and Family)

1 ½ c. multi-grain rotini pasta
3 c. broccoli florets
1 lb. boneless skinless chicken breasts, chopped
½ c. fat-free reduced-sodium chicken broth
2 oz. Neufchatel cheese, cubed
1 c. shredded mozzarella cheese, divided
2 Tbsp. grated parmesan cheese

Cook pasta, adding broccoli for the last 3 min. Meanwhile, heat large nonstick skillet on medium-high heat. Add chicken; cook 3 min. or until no longer pink, stirring frequently. Stir in broth; simmer 3 min. or until chicken is done. Add Neufchatel cheese; cook and stir on low heat 1 min. or until melted. Stir in ½ c. mozzarella. Drain pasta and broccoli. Add to chicken mixture; mix lightly. Spoon into 8-inch square baking dish; cover. Bake in 375* oven for 15 min. or until heated through. Sprinkle with remaining cheeses. Bake, uncovered, 3 min. or until melted. Let stand 5 min.

4 servings (1 ½ c.)

I thought this recipe was good, but could have been better.  I bet if I used real cream cheese instead of the healthier Neufchatel it would have a little more flavor, or if I used full-flavor, full-sodium, full-bad-for-you chicken broth.  And I'm still getting used to the flavor and texture of whole-grain pasta as opposed to regular.  Overall, this recipe is going in the keeper pile.  I rated it GOOD.

March 5, 2010

{recipe} Red Velvet Cupcakes

Test Recipes: Week 2!


I have come across a gazillion recipes for Red Velvet cakes, cupcakes, cookies, etc.  And it seems all of them have amazing ratings.  So I decided to try it out.  Basically, it's chocolate cake with red food coloring.  Since there are SO MANY recipes for Red Velvet whatever out there, I decided to go with Miss Know-It-All Marth Stewart for my first attempt.  While these cupcakes were definitely yummy, I didn't think they were anything spectacular.  I rated this recipe GOOD.  Actually, the cream cheese frosting was my favorite part (I think I would eat compost if it were covered in cream cheese frosting...num num).

RED VELVET CUPCAKES (Martha Stewart)

2 1/2 cups cake flour (not self- rising), sifted
2 tablespoons unsweetened Dutch-process cocoa powder
1 teaspoon salt
1 1/2 cups sugar
1 1/2 cups vegetable oil
2 large eggs, room temperature
1/2 teaspoon red gel-paste food color**
1 teaspoon pure vanilla extract
1 cup buttermilk
1 1/2 teaspoons baking soda
2 teaspoons distilled white vinegar
 
**(Gel paste is more concentrated color than liquid.  Use 1 to 1.5 oz. liquid food color if substituting.  I didn't see Martha's helpful hint until after the first pan of cupcakes was already in the oven.  So half my cupcakes turned out brown, and the other half looked red like they should be...live and learn.)
 
Preheat oven to 350 degrees. Line standard muffin tins with paper liners. Whisk together cake flour, cocoa, and salt.  With an electric mixer on medium-high speed, whisk together sugar and oil until combined. Add eggs, one at a time, beating until each is incorporated, scraping down sides of bowl as needed. Mix in food color and vanilla.  Reduce speed to low. Add flour mixture in three batches, alternating with two additions of buttermilk, and whisking well after each. Stir together the baking soda and vinegar in a small bowl (it will foam); add mixture to the batter, and mix on medium speed 10 seconds.  Divide batter evenly among lined cups, filling each three-quarters full. Bake, rotating tins halfway through, until a cake tester inserted in centers comes out clean, about 20 minutes. Transfer tins to wire racks to cool completely before removing cupcakes. Cupcakes can be stored overnight at room temperature, or frozen up to 2 months, in airtight containers.  To finish, use a small offset spatula to spread cupcakes with frosting. Refrigerate up to 3 days in airtight containers; bring to room temperature before serving.
 
I couldn't believe how RED the batter actually was.  It looks like lava...


Don't forget the Cream Cheese Frosting!  This is now my go-to recipe for CCF :)  Except I made half a recipe and it was more than enough.
 
CREAM CHEESE FROSTING (Martha Stewart)
 
8 ounces (2 sticks) unsalted butter, room temperature
12 ounces cream cheese, room temperature
1 pound (4 cups) confectioners' sugar, sifted
3/4 teaspoon pure vanilla extract
 
Beat butter and cream cheese with a mixer on medium-high speed until fluffy, 2 to 3 minutes. Reduce speed to low. Add sugar, 1 cup at a time, and then vanilla; mix until smooth. Frosting can be refrigerated for up to 3 days; before using, bring to room temperature, and beat until smooth.
 
My coworkers get to reap some of the benefits to my test recipes.  Especially the sweets.  I just don't need 24 cupcakes tempting me at my apartment.  Especially if they have cream cheese frosting.... :P